- User informationFronius GEN24 / Tauro / Verto Firmware Update
- Connecting the inverter
- Firmware update
005-27102025
Connecting the inverter
General
The GEN24 / Tauro / Verto inverter must be connected to a network-enabled end device for commissioning. A number of options are available for this purpose.
- Installation using the Fronius Solar.start app
- Installation using the web browser
- WLAN
- Ethernet
WICHTIG!
For serviceability and optimal support, Fronius International GmbH recommends connecting the inverter to the Internet. The prerequisite is successful configuration of the network.
Start-up video
1.
Follow the instructions in the installation wizard.
Installation with the app
The Fronius Solar.start app is required for installation. Depending on the mobile device used to perform the installation, the app is available on the relevant platform.

1Download and install the Fronius Solar.start app.
2Open the access point by touching the sensor  .
.
.✓Communications LED flashes blue.
3Open the Fronius Solar.start app and follow the installation wizard. Scan the QR code on the rating plate with a smartphone or tablet to connect to the inverter.
4Add system components in Fronius Solar.web and commission the PV system.
The network wizard and product setup can be performed independently. A network connection is required for the Fronius Solar.web installation wizard.
Installation with the browser
WLAN:

1Open the access point by touching the sensor
✓Communications LED flashes blue.
2Establish the connection to the inverter in the network settings (the inverter is displayed with the name "FRONIUS_" and the serial number of the device).
3Enter the password from the rating plate and confirm.
IMPORTANT!
To enter the password in Windows 10, first select the Connect using a security key instead link to be able to establish the connection with the password.
IMPORTANT!
To enter the password in Windows 10, first select the Connect using a security key instead link to be able to establish the connection with the password.
4Enter the IP address 192.168.250.181 in the address bar of the browser and confirm. The installation wizard opens.
5Follow the installation wizard and complete the installation in the individual areas.
6Add the system components in Fronius Solar.web and commission the PV system.
The network wizard and product setup can be performed independently. A network connection is required for the Fronius Solar.web installation wizard.
Ethernet:

1Establish a connection to the inverter (LAN1) using a network cable (min. CAT5 STP).
2Open the access point by touching the sensor once
✓Communications LED flashes blue.
3Enter the IP address 169.254.0.180 in the address bar of the browser and confirm. The installation wizard opens.
4Follow the installation wizard and complete the installation in the individual areas.
5Add the system components in Fronius Solar.web and commission the PV system.
The network wizard and product setup can be performed independently. A network connection is required for the Fronius Solar.web installation wizard.
Add PV system to Solar.web
In order to be able to use system monitoring on the Solar.web platform, registration on the platform is necessary.
- Open Fronius Solar.web.
- Login with username and password.
- Click on the „Add PV system“ button.
- Fill in the form and click on „Save“.
Adding another PV system
- Open Fronius Solar.web.
- Login with username and password.
- Click on the user icon in the upper right corner.
- Click on the „Add PV system“ button.
- Fill in the form and click on „Save“.
Firmware update
Information
To use the full range of functions, ensure that the inverter is updated to the current firmware version during commissioning. The firmware update can be performed online Firmware Update - Online (recommended) (recommended) or offline Firmware Update - Offline.
Information
To use the full range of functions, ensure that the inverter is updated to the current firmware version during commissioning. The firmware update can be performed online Firmware Update - Online (recommended) (recommended) or offline Firmware Update - Offline.
Firmware Update - Online (recommended)
If the inverter has already been registered in Fronius Solar.web, the update can be started directly via Solar.web. Adding a PV system see Add PV system to Solar.web.
1Open Fronius Solar.web.
2Login with username and password.
3Click on Settings.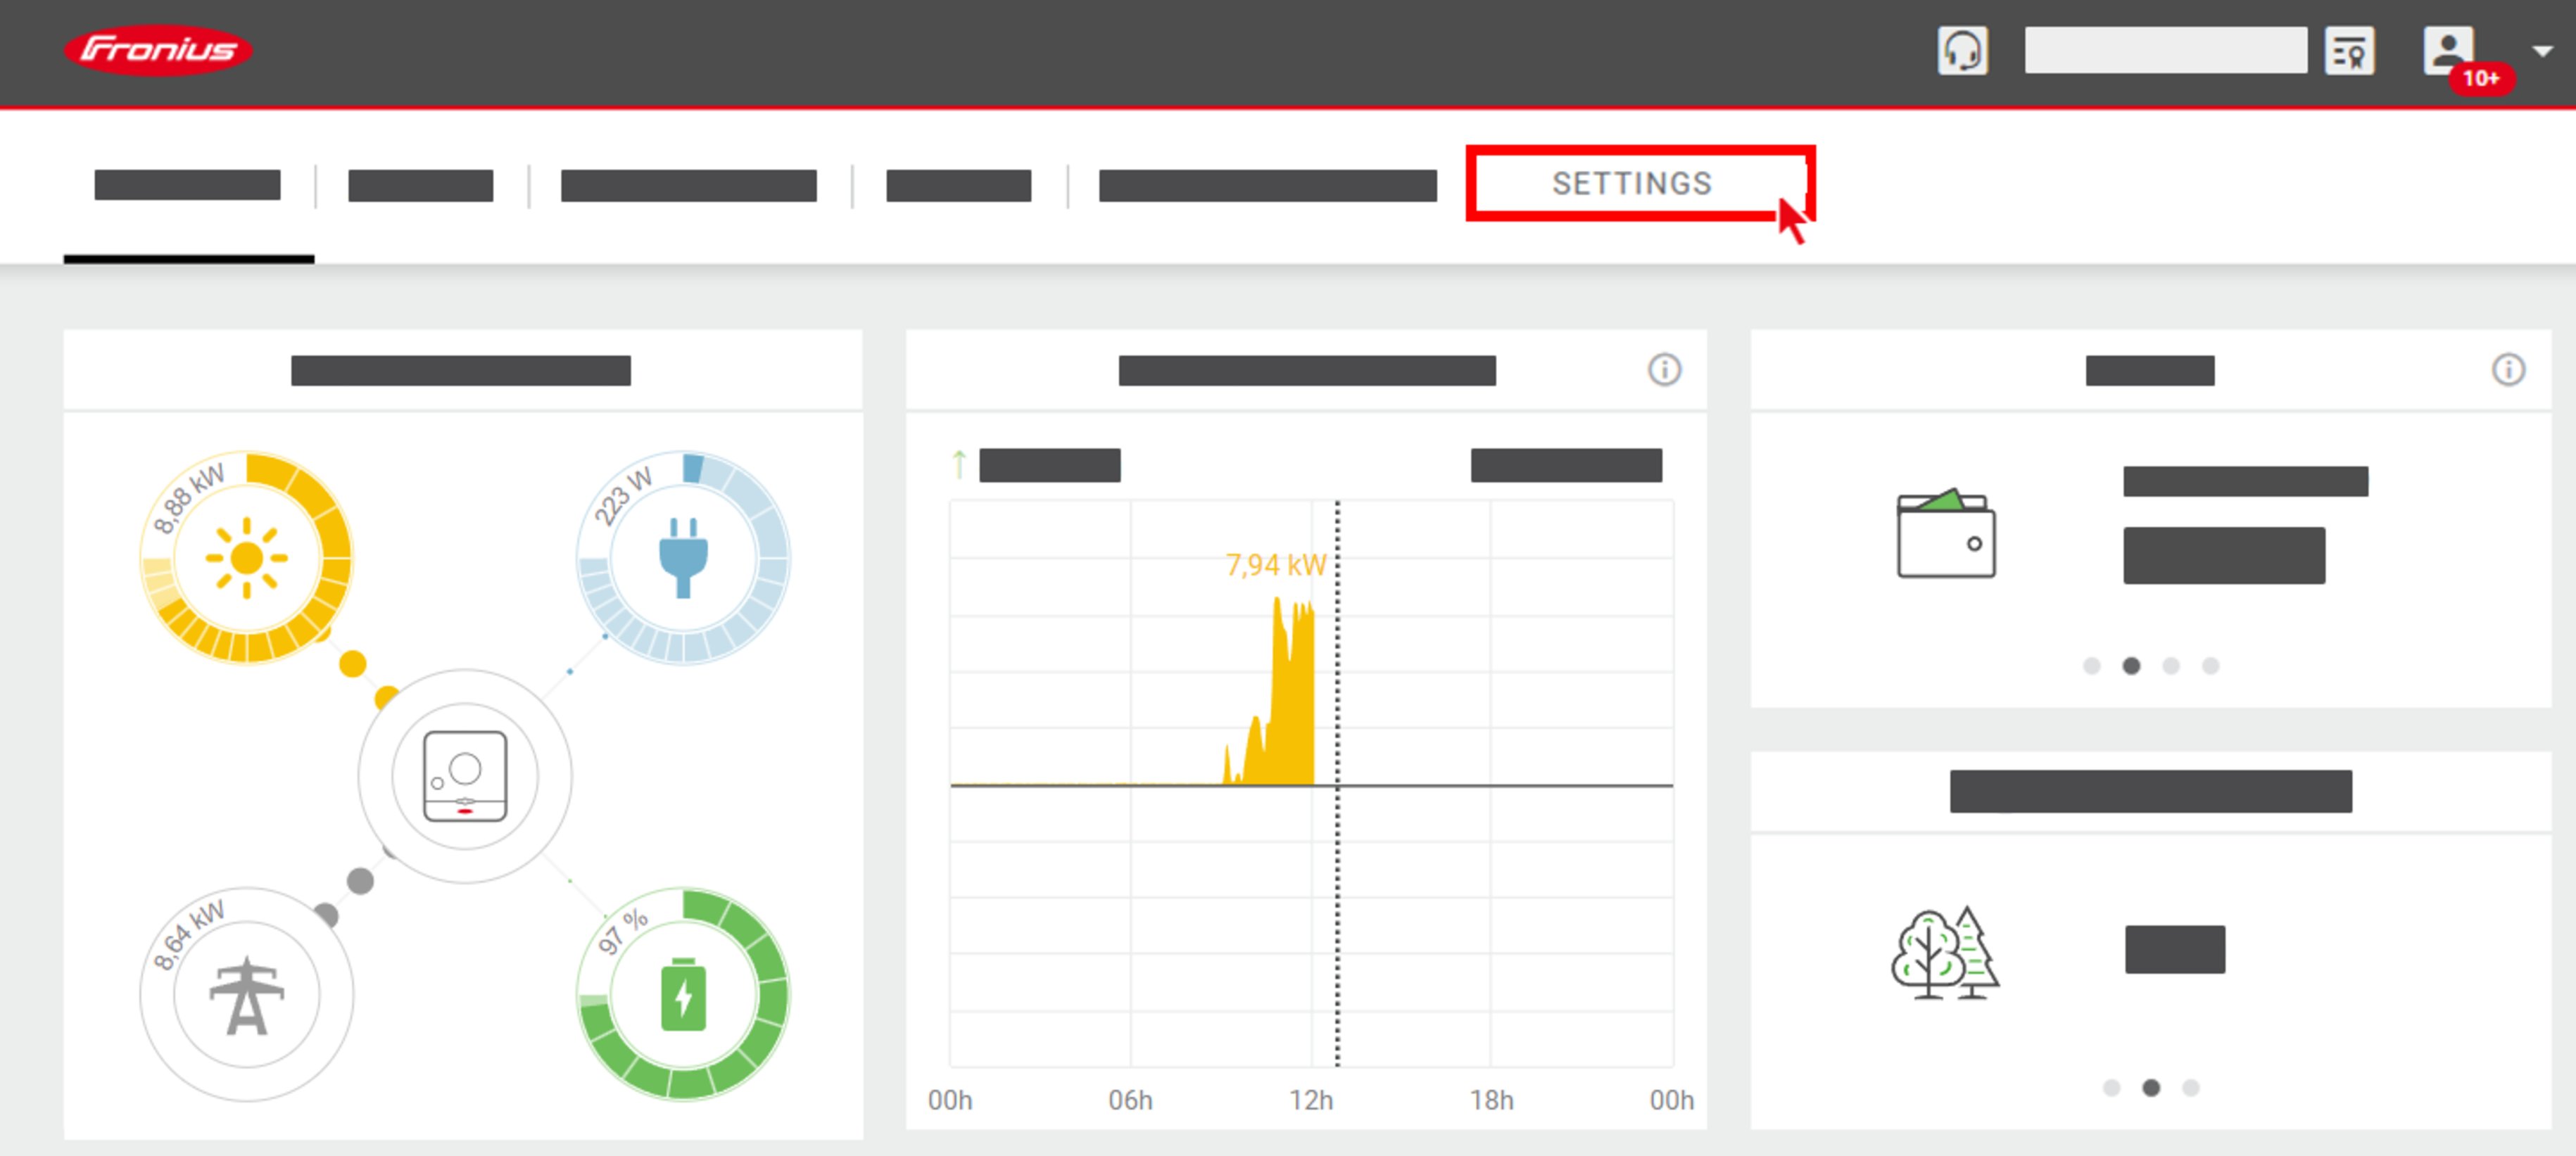
4Click on Components (1).
5Check for available firmware in the Update column (2).Tick the checkbox (3) for the selected firmware.
6Click on Update (4).
✓The update will be installed.
Firmware Update - Offline
All available updates are provided at www.fronius.com. After downloading the update, proceed as follows.
1Open the inverter website (See Installation with the browser).
2Click on System.
3Enter the password for the user login and click on Login.
4Click on Update (1).
5Drag the firmware file into the Drag&Drop file here field or select it using Browse file
✓The update will be installed.